

 Shubhra Shubhra
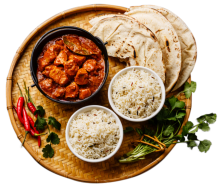
This is extremely soft and light bread with the flavour of thyme, lemon, garlic, herbs, and chilli flakes. Ohh !! Wow !! What a beautiful combination of lovely flavours.


Hi Shubhra, Kindly mention each step to prepare this recipe in separate lines. To edit the recipe, please go to the recipe image and click on the 'pen icon' on the right top side and edit the recipe. Thanks!


I load my dishes with more excitement than you will find in other new recipes that are getting far more attentions.
Login and Start Exploring!
Forgot Password?
SIGN INTo receive a reset password link in your inbox, enter your email address.
A password reset link has been sent to your mail. Please check your mail.
CHECK MAILEnter your new password
Sign Up with BetterButter and Start Exploring!
By creating an account, I accept the Terms & Conditions
SIGN UP

Upload photos from your gallery

Open your camera and take photos

John Doe
1713 Peaceful Lane, Cleveland
Ohio
44115
![]() ****8425
****8425
Item(s) Subtotal: ₹689.00
Shipping: ₹0.00
Total: ₹689.00
Grand Total: ₹689.00


 Farheen Dalvi
 Delicacies On The Plate - Pallavi's Kitchen
 Abhilasha Gupta


How would you rate this recipe? Please add a star rating before submitting your review.
Submit Review